Fit, dimensions & layout
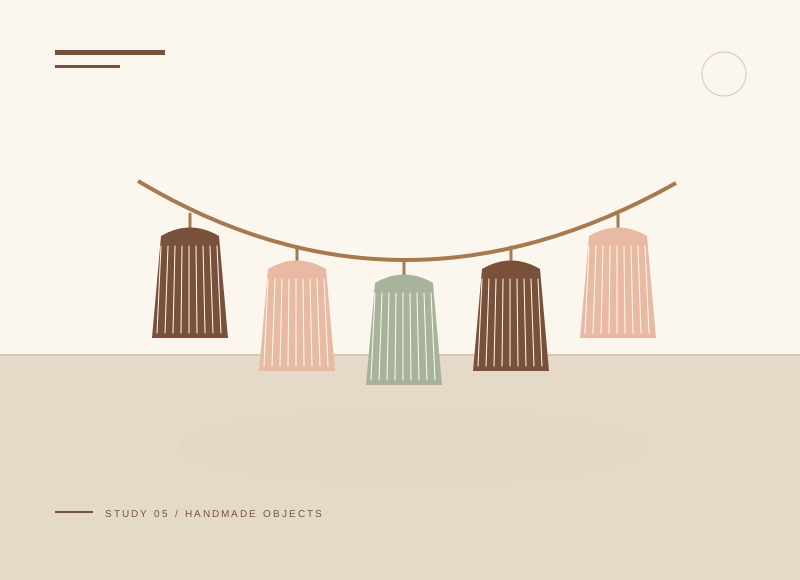
Five 90 mm tassels on a 700 mm cord need room for end attachments as well as spacing. Mark the cord center first, then place the other tassels symmetrically. Work out whether the end ties belong inside that 700 mm total before cutting the cord; a drawn layout avoids losing display width to knots.
The illustration is a concept, not a scale drawing or a record of a tested build. Use a full-size template or dry fit to check the written layout with your actual materials.
Gather your materials
Tools to have nearby
Choose materials deliberately
Make it, step by step
Make a card
Cut wrapping cardboard around 90 mm long for small tassels.
Wrap consistently
Count the same number of turns. Thread a top tie through the loops before removing the bundle.
Check before moving onRecord the wrap count and use the same cardboard orientation for all five bundles.
Bind the neck
Tie the top securely and wrap another yarn length just below it.
Trim the fringe
Cut lower loops and trim evenly against a ruler.
Space and display
Attach five tassels at equal intervals. Keep away from flames, children, and pets; prevent accessible cord loops.
Check before moving onCheck the finished cord placement before attaching decorations, keeping every hanging part beyond reach of children and pets.
Troubleshoot this project
Why do tassels vary in length?
What to check. Bundles may have been trimmed before all neck ties were positioned.
Next move. Use one neck-to-tip reference and trim the completed set together.
Why does a bundle loosen?
What to check. The upper tie may not have captured all loops or the neck binding may slip.
Next move. Rewrap the sample and secure both ties before cutting the lower loops; do not rely on trimming to hold the strands.
The final check
Tassels are secure and the cord is displayed safely.
Counting wraps makes the set more consistent than judging by eye.
Record your actual sizes, material changes, and the result of your fit check in your project notebook. Keep the product name with any finish or adhesive sample.
Use a stable work surface and tools within your experience. Follow the exact tool and product instructions for preparation, dust control, ventilation, and cure. These decorative concepts have no structural load rating. Stop if the material or existing finish cannot be identified.