Fit, dimensions & layout
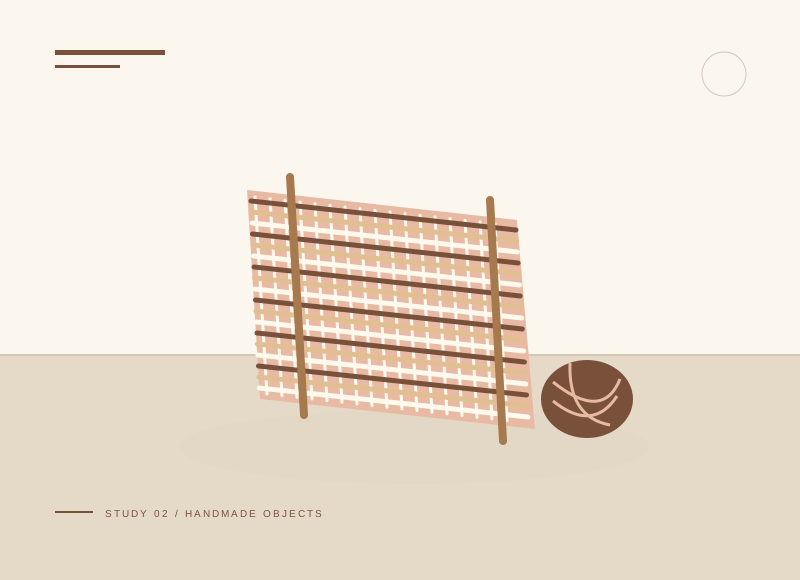
Use a narrow weaving area centered on the 60 mm loom. Eight warp threads about 5 mm apart create roughly 35 mm between the outer threads; the final width depends on yarn packing and tension. Leave unwoven space at both ends for removing and tying the warp. Draw the intended 150 mm length on the loom as a visual stopping guide.
The illustration is a concept, not a scale drawing or a record of a tested build. Use a full-size template or dry fit to check the written layout with your actual materials.
Gather your materials
Tools to have nearby
Choose materials deliberately
Make it, step by step
Make the loom
Cut a 60 × 210 mm card and add shallow notches about 5 mm apart along the short ends.
Wrap the warp
Run cotton thread between matching notches with even tension, without bending the card.
Check before moving onCount the working warp threads, not only the notches, and record the number before weaving.
Weave the rows
Pass yarn over one warp and under the next. Reverse on the following row and leave side turns relaxed.
Finish the ends
Stop short of the loom edges. Tie adjacent warp threads in pairs and weave yarn tails back through several rows.
Check before moving onRemove the bookmark with loose ends accessible, tie adjacent warp pairs, and test those knots before trimming fringe.
Flatten and trim
Press under a book and trim the fringe evenly. Test for loose dye before placing in a book.
Troubleshoot this project
Why is the middle narrower than the ends?
What to check. The weft may be pulling the outer warp inward.
Next move. Leave a small arc of yarn across each row before settling it. Ease back a few tight rows instead of stretching the finished strip.
Why are alternate rows identical?
What to check. The over-under pattern may not have reversed at the next pass.
Next move. Check the first warp of each row. Undo the latest row and start over the thread you passed under previously.
The final check
The sides stay straight and the end knots hold under gentle handling.
Tight turns narrow the weave; leave a tiny curve before settling each row.
Record your actual sizes, material changes, and the result of your fit check in your project notebook. Keep the product name with any finish or adhesive sample.
Use a stable work surface and tools within your experience. Follow the exact tool and product instructions for preparation, dust control, ventilation, and cure. These decorative concepts have no structural load rating. Stop if the material or existing finish cannot be identified.