Fit, dimensions & layout
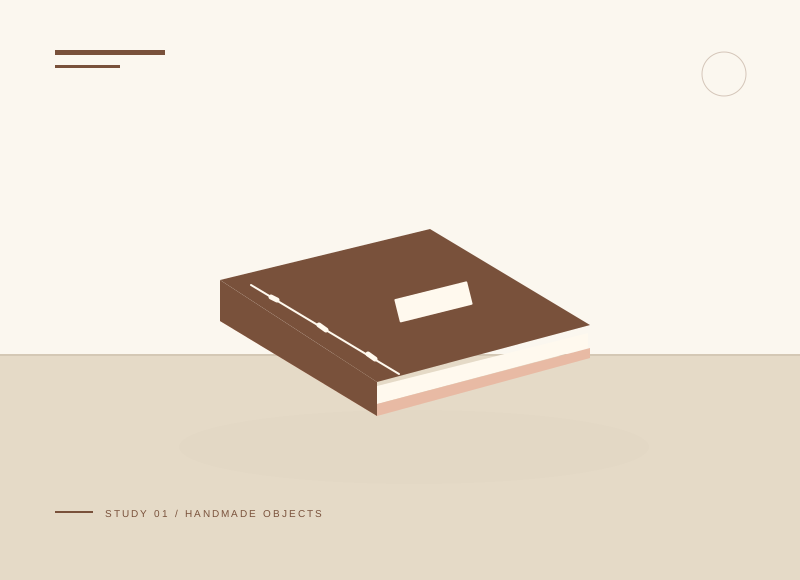
Each folded A5 sheet becomes four A6 pages, so six sheets give 24 writing pages before counting the cover. Nest the sheets and check their alignment at the fold. Three holes share one spine line; keep the two outer holes equally spaced from the ends. A cover only slightly heavier than the pages is easier to pierce neatly than very rigid board.
The illustration is a concept, not a scale drawing or a record of a tested build. Use a full-size template or dry fit to check the written layout with your actual materials.
Gather your materials
Tools to have nearby
Choose materials deliberately
Make it, step by step
Fold the stack
Fold each sheet and the cover individually for a clean spine, then nest them.
Mark three holes
Place one at the middle of the fold and two about 25 mm from the ends.
Prepare the holes
Support the fold on scrap board and pierce the marks with an awl, keeping your free hand clear.
Check before moving onUse a folded scrap as a hole guide and keep it inside the section while piercing each position.
Sew the binding
Start inside at the center, go out, in at one end, out at the other end, and back in at the center. Leave the two tails on opposite sides of the long inner stitch.
Check before moving onRoute: inside center → outside center → inside top → outside bottom → inside center. Keep an initial tail inside for tying.
Tie and trim
Tie the tails around the long center stitch with a square knot. Close under a light weight.
Troubleshoot this project
Why is one thread tail outside the long stitch?
What to check. The final pass may have returned on the same side of the center stitch.
Next move. Before tying, arrange the tails on opposite sides of the long inner stitch so the knot captures it.
Why do the inner sheets project at the edge?
What to check. Nested folded sheets naturally occupy slightly different paths.
Next move. Align at the spine. Accept slight page creep for the first booklet; any trimming needs a suitable guided cutting setup.
The final check
The pages open freely and the thread does not tear the holes.
A small stack is easier to align than a thick one; begin with six sheets.
Record your actual sizes, material changes, and the result of your fit check in your project notebook. Keep the product name with any finish or adhesive sample.
Use a stable work surface and tools within your experience. Follow the exact tool and product instructions for preparation, dust control, ventilation, and cure. These decorative concepts have no structural load rating. Stop if the material or existing finish cannot be identified.