Fit, dimensions & layout
Begin with a 30 mm foam motif and a practice row, leaving roughly the same gap between marks. Decide whether rows line up or alternate by half a repeat. Use a clean sheet larger than the intended wrapped box requires; trimming the edges later is easier than trying to extend a partly dried repeat.
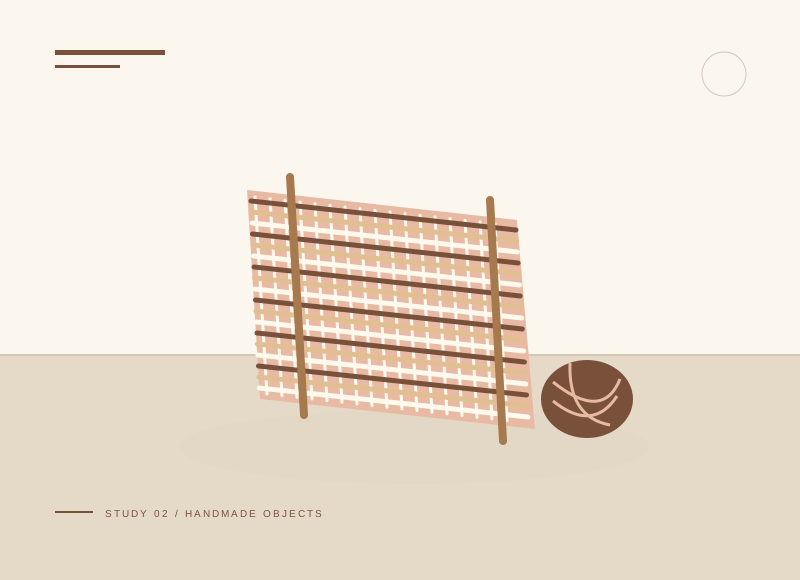
The illustration is a concept, not a scale drawing or a record of a tested build. Use a full-size template or dry fit to check the written layout with your actual materials.
Gather your materials
Tools to have nearby
Choose materials deliberately
Make it, step by step
Cut a simple motif
Use an arch, triangle, or rectangle rather than a detailed drawing.
Mount the foam
Attach to a flat block and let the adhesive set. Keep the printing face level.
Test paint loading
Find a thin even coat on scrap paper before printing the real sheet.
Check before moving onKeep a separate scrap area for loading tests so the real sheet is not the place you discover excess paint.
Print in loose rows
Start near the middle and work outward. Choose deliberate rotation or consistent alignment.
Check before moving onMark faint row guides outside the final cut area instead of drawing through the visible pattern.
Dry before folding
Let the paint dry fully and test around a practice box. Keep painted paper away from unpackaged food.
Troubleshoot this project
Why are the marks blobby?
What to check. The stamp may carry too much paint or have glue ridges under its face.
Next move. Offload on scrap, check the face is flat, and start with a thinner even paint layer.
Why does the pattern smear while wrapping?
What to check. The paint may be dry-looking without being ready for handling, or incompatible with the paper.
Next move. Follow the paint instructions and rub-test scrap before folding the finished sheet.
The final check
The pattern is dry to handle and the paper folds cleanly.
Consistent spacing matters more than perfectly identical impressions.
Record your actual sizes, material changes, and the result of your fit check in your project notebook. Keep the product name with any finish or adhesive sample.
Use a stable work surface and tools within your experience. Follow the exact tool and product instructions for preparation, dust control, ventilation, and cure. These decorative concepts have no structural load rating. Stop if the material or existing finish cannot be identified.