Fit, dimensions & layout
Lid clearance is the deciding measurement. A cloth layer on both the outside box wall and inside lid can consume more space than expected. Test the complete fabric, glue, and lining stack on two opposing sides before covering the box. Orient a stripe or obvious weave parallel to the long edges so misalignment does not grow around the corners.
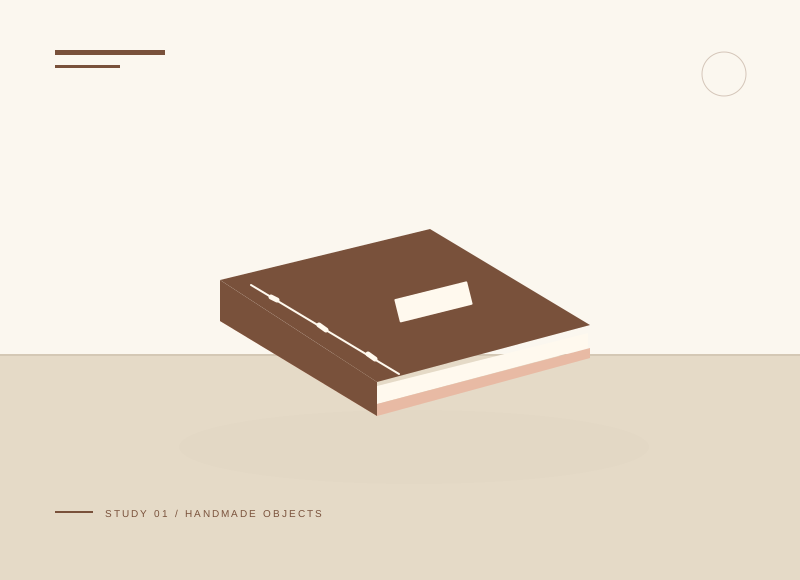
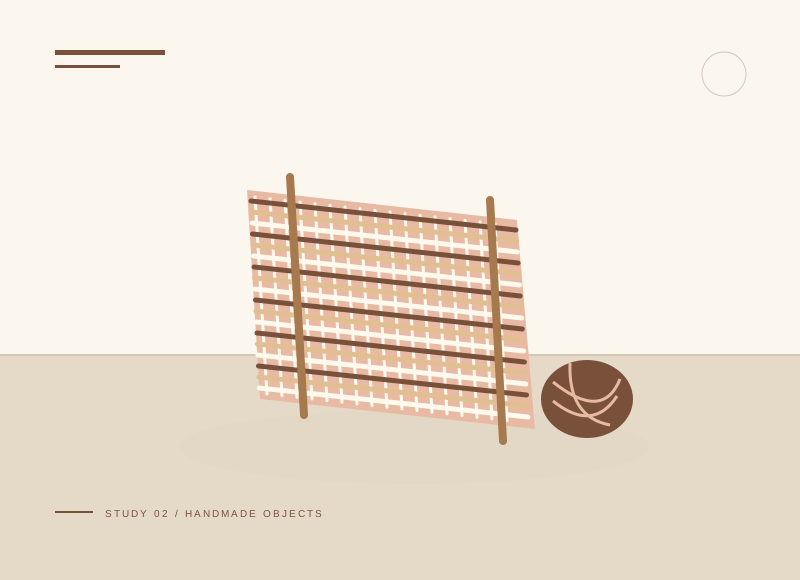
The illustration is a concept, not a scale drawing or a record of a tested build. Use a full-size template or dry fit to check the written layout with your actual materials.
Gather your materials
Tools to have nearby
Choose materials deliberately
Make it, step by step
Check lid clearance
Wrap a scrap of cloth over the rim and test the lid before covering anything.
Cut the panels
Leave enough allowance to turn over each edge. Mark the reverse of the fabric.
Check before moving onAllow enough turn-in for each rim but avoid adding unnecessary layers inside the lid clearance area.
Cover broad faces
Use a thin glue film and smooth outward without stretching the weave.
Fold corners
Trim bulky allowances and fold consistently. Cover the lid separately.
Check before moving onFold one corner completely before cutting the other allowances, so the remaining pieces retain enough coverage.
Line and dry
Hide raw edges beneath paper lining. Dry the box open and check the lid again.
Troubleshoot this project
Why is the lid too tight?
What to check. The original clearance may not allow the added covering layers.
Next move. Do not force it over damp cloth. Use a looser box or reduce the planned layers in a new sample.
Why do corners form hard lumps?
What to check. Too many full-size seam allowances may overlap.
Next move. Use the scrap corner test to trim and stagger allowances, keeping enough fabric to cover each raw edge.
The final check
The lid opens easily and enclosed corners are completely dry.
Test glue on a hidden scrap; some fabrics show dark adhesive patches.
Record your actual sizes, material changes, and the result of your fit check in your project notebook. Keep the product name with any finish or adhesive sample.
Use a stable work surface and tools within your experience. Follow the exact tool and product instructions for preparation, dust control, ventilation, and cure. These decorative concepts have no structural load rating. Stop if the material or existing finish cannot be identified.