Fit, dimensions & layout
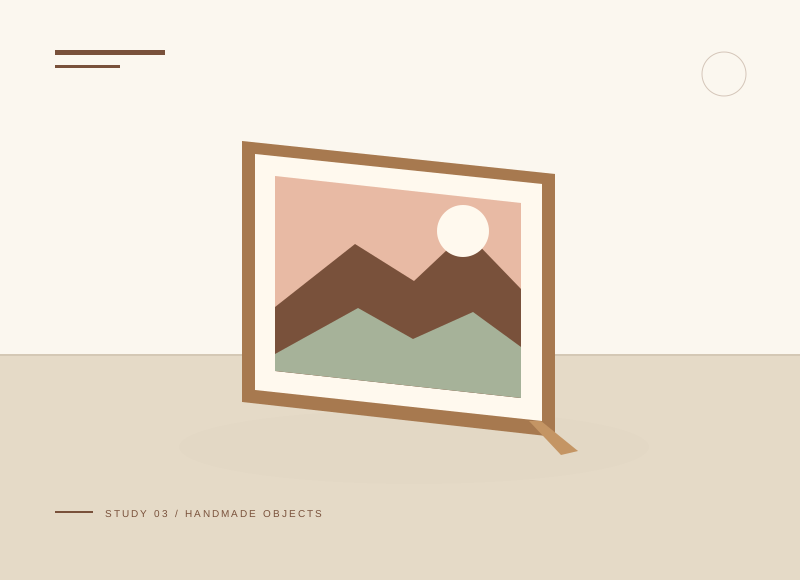
Limit the first study to a sky and three land layers. Cut backing at 150 × 200 mm and make each landscape strip wider than 150 mm so there is room to reposition it. Keep a small pencil mark on the reverse of each strip showing its order; a pleasing dry arrangement can be difficult to reconstruct once glue is open.
The illustration is a concept, not a scale drawing or a record of a tested build. Use a full-size template or dry fit to check the written layout with your actual materials.
Gather your materials
Tools to have nearby
Choose materials deliberately
Make it, step by step
Sketch the layers
Plan sky, distant hills, and one foreground shape. Keep the horizon away from the exact center.
Tear ridgelines
Try tearing toward yourself for a pale paper edge and away for a cleaner color edge.
Check before moving onTurn the paper a little at a time while tearing instead of trying to steer one long rip in a fixed grip.
Arrange back to front
Place the sky first and overlap hills. Make each layer reach the backing edges.
Glue gradually
Attach one layer at a time with a thin adhesive film, keeping torn edges flat.
Check before moving onPhotograph the dry layout for your own reference, then remove layers in order and glue from the sky forward.
Dry and trim
Press beneath a clean sheet with light weight. Trim only after the glue sets.
Troubleshoot this project
Why is the white tear edge on the wrong side?
What to check. Paper layers expose differently depending on tear direction and which face is upward.
Next move. Make two scrap tears before shaping the final ridge; keep the one that gives the intended visible edge.
Why do the ridges look flat?
What to check. The layers may have equal heights or too little tone difference.
Next move. Rearrange before gluing: vary the exposed band heights and make the foreground more distinct from the sky.
The final check
The layers stay attached and the backing has not curled.
Let one quiet open area balance the texture of the torn paper.
Record your actual sizes, material changes, and the result of your fit check in your project notebook. Keep the product name with any finish or adhesive sample.
Use a stable work surface and tools within your experience. Follow the exact tool and product instructions for preparation, dust control, ventilation, and cure. These decorative concepts have no structural load rating. Stop if the material or existing finish cannot be identified.